
Customer Display
While a server or cashier enters an order, the items and total show live on a second screen facing the guest. The welcome message, idle image and thank-you screen are set to suit your business.
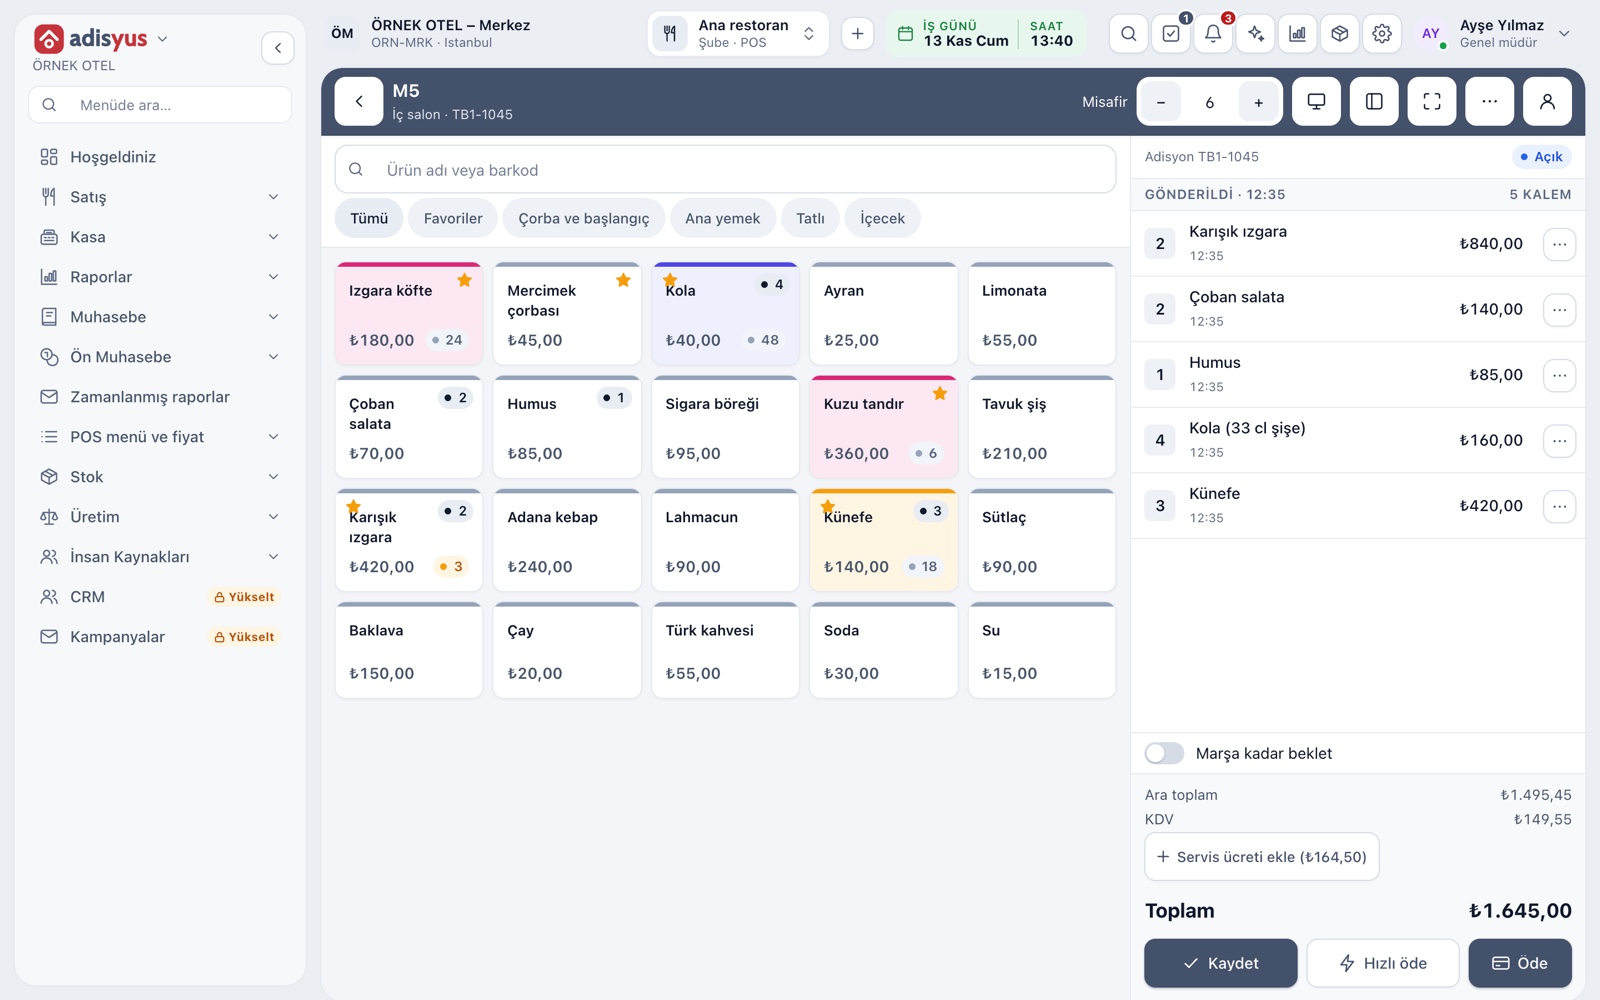
The live order on a second screen
The customer display mirrors the check on the order screen to a second screen the guest looks at: item name, quantity, amount, discount and total. The Mirror to customer display button in the order screen's top bar opens a separate window; drag it to the second monitor and double-click for full screen.
- Welcome shows with no check, the item list while ordering, a thank-you after payment.
- Unsaved lines also appear instantly.
- A wrongly entered item is caught before payment.
What is and is not shown
Only item name, quantity, unit price and totals are sent to the customer display. Personal details, item or check notes, and table, room or customer names are never shown. The screen only displays; it takes no approval, signature or payment from the guest.
- Kitchen notes such as allergies or special requests do not reach the second screen.
- Payment method and card details are not shown.
Look: theme, color and text size
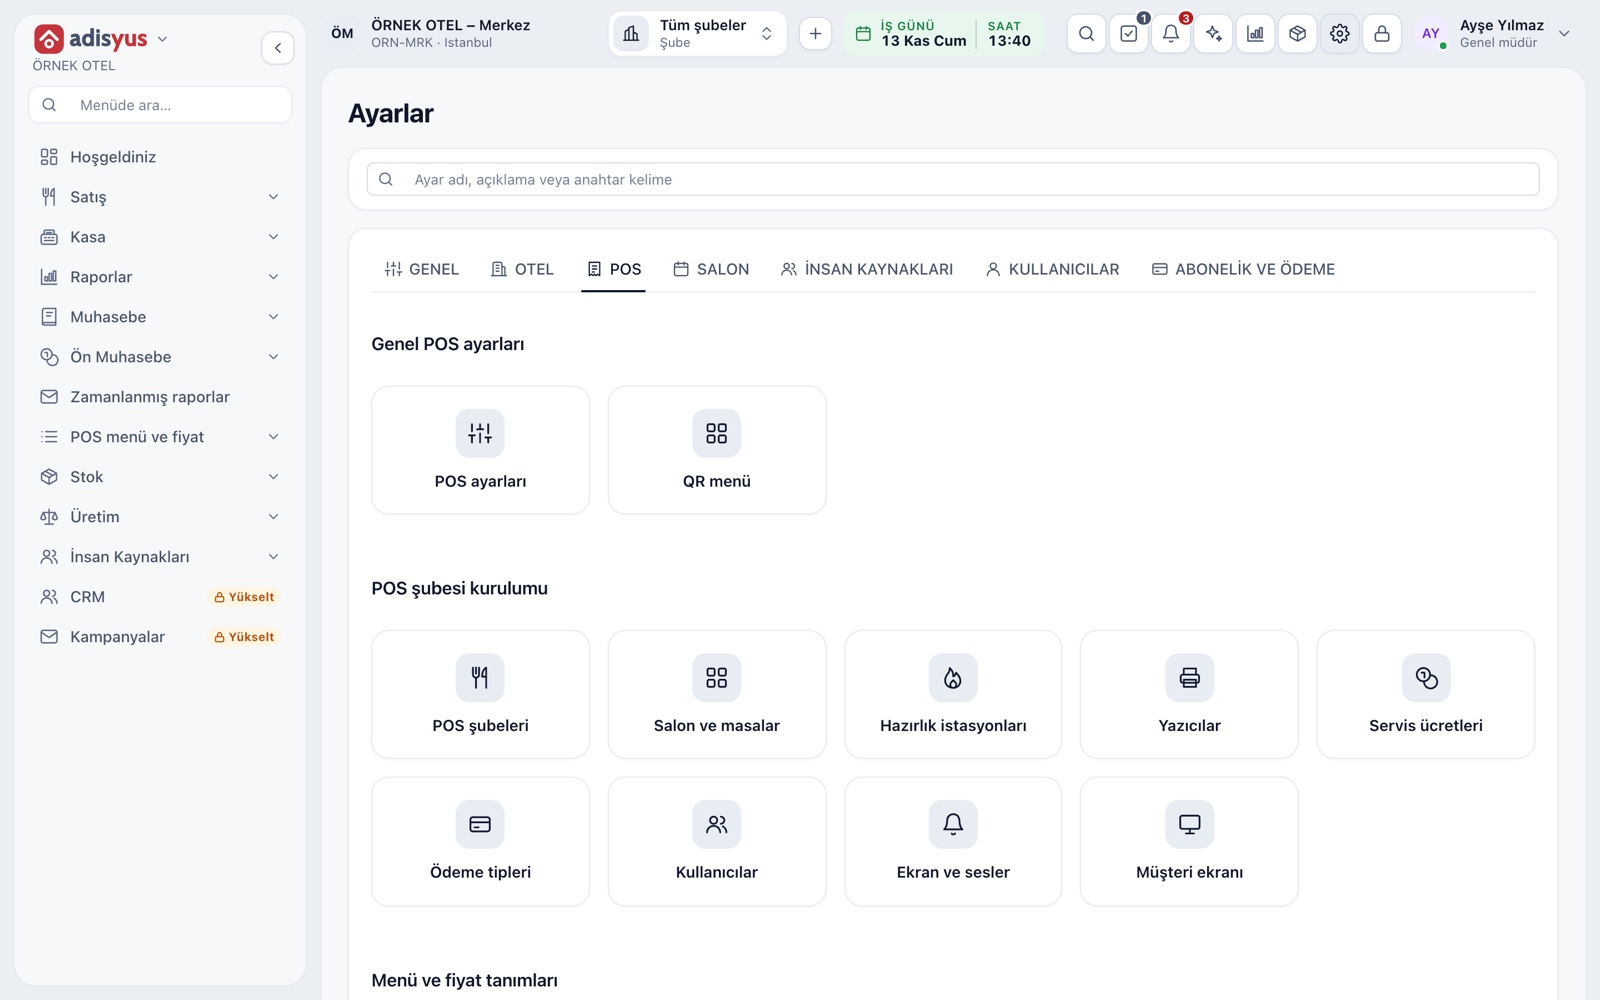
On the Settings > POS > Customer display page the look is matched to your business identity. The theme follows the system or is set to light or dark. The brand color paints the welcome screen background, and the text color on it is chosen automatically for readability.
- Text size is chosen from normal, large and extra large.
- The business logo can be shown or hidden on the screen.
- The settings page previews the screen states live.
Welcome, thank-you and idle image
If the welcome heading is left empty, Welcome is shown; if the thank-you message is empty, Thank you appears. With no check open, an image you upload can also stay on screen, such as a current promotion poster or a menu photo.
- The image can be JPEG, PNG, GIF or WebP.
- Messages are written separately per sales point.
- If the image is removed, the welcome continues with only the logo and message.
Fields to show and per-outlet settings
Items and total always show. Unit price, subtotal and the discount row are optional; hiding them simplifies the screen. On a discounted check the discount appears on its own row. Settings are per sales point, so tills in different outlets can use a different welcome and color.
- If the discount row is off, the guest sees only the total.
- You set it once on each till computer.
- Changing it needs POS settings permission; managers have it.
Modules used together
Checks and Order Entry
Item entry, options, comps, split and merge bills
Learn morePayments and Collections
Cash, card and split payments; fiscal cash register (ÖKC) integration
Learn moreRestaurant Settings
Business day start/end, notifications, display and general settings
Learn moreDiscounts and Comps
Predefined discounts and non-payable (comp) bills
Learn moreSmart Digital Menu
Order from the table with a QR menu
Learn moreFrequently Asked Questions
Do I need a separate device for the customer display?
No. A second monitor connected to the till computer is enough. The mirror button opens a second window on the same computer.
What information appears on the customer display?
Item name, quantity, price, subtotal, discount and total. Personal details, notes and table or customer names are not shown.
How do I show a promotion poster?
Upload an idle image in settings; it shows on the welcome screen when no check is open. The image is uploaded by hand and is not matched to promotion rules automatically.
Why do I set it on every till computer?
Customer display settings are saved per sales point on the device in use. Enter them once on each till where you want the same look.
Meet Customer Display
Let us call you for a live walkthrough, or try it free for 1 month.